Providers: Managing the Waitlist
How the Waitlist Works
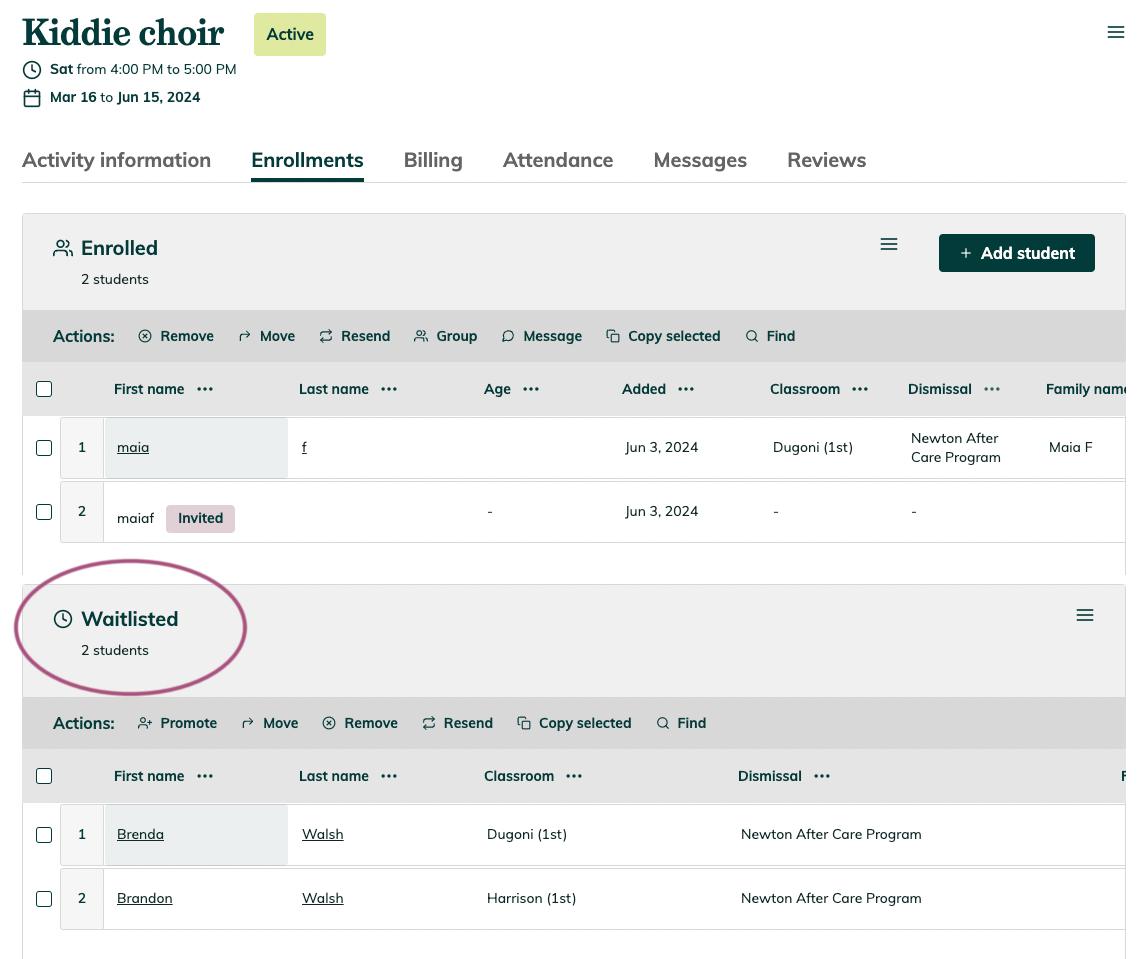
You can find your waitlist under the Enrollments tab on your Activity Details page, located just below the Enrolled table.
When the Waitlist Activates
Once an activity reaches its maximum capacity, the system will automatically activate a waitlist. At that point, you'll receive an email notification indicating that the activity is full. As students join the waitlist, their names will appear in the Waitlisted table, listed in the order they joined (first-come, first-served).
Managing the Waitlist
You have the option to promote one or more students from the waitlist by sending them an invitation to enroll in the activity:
- Check the box next to the student's name.
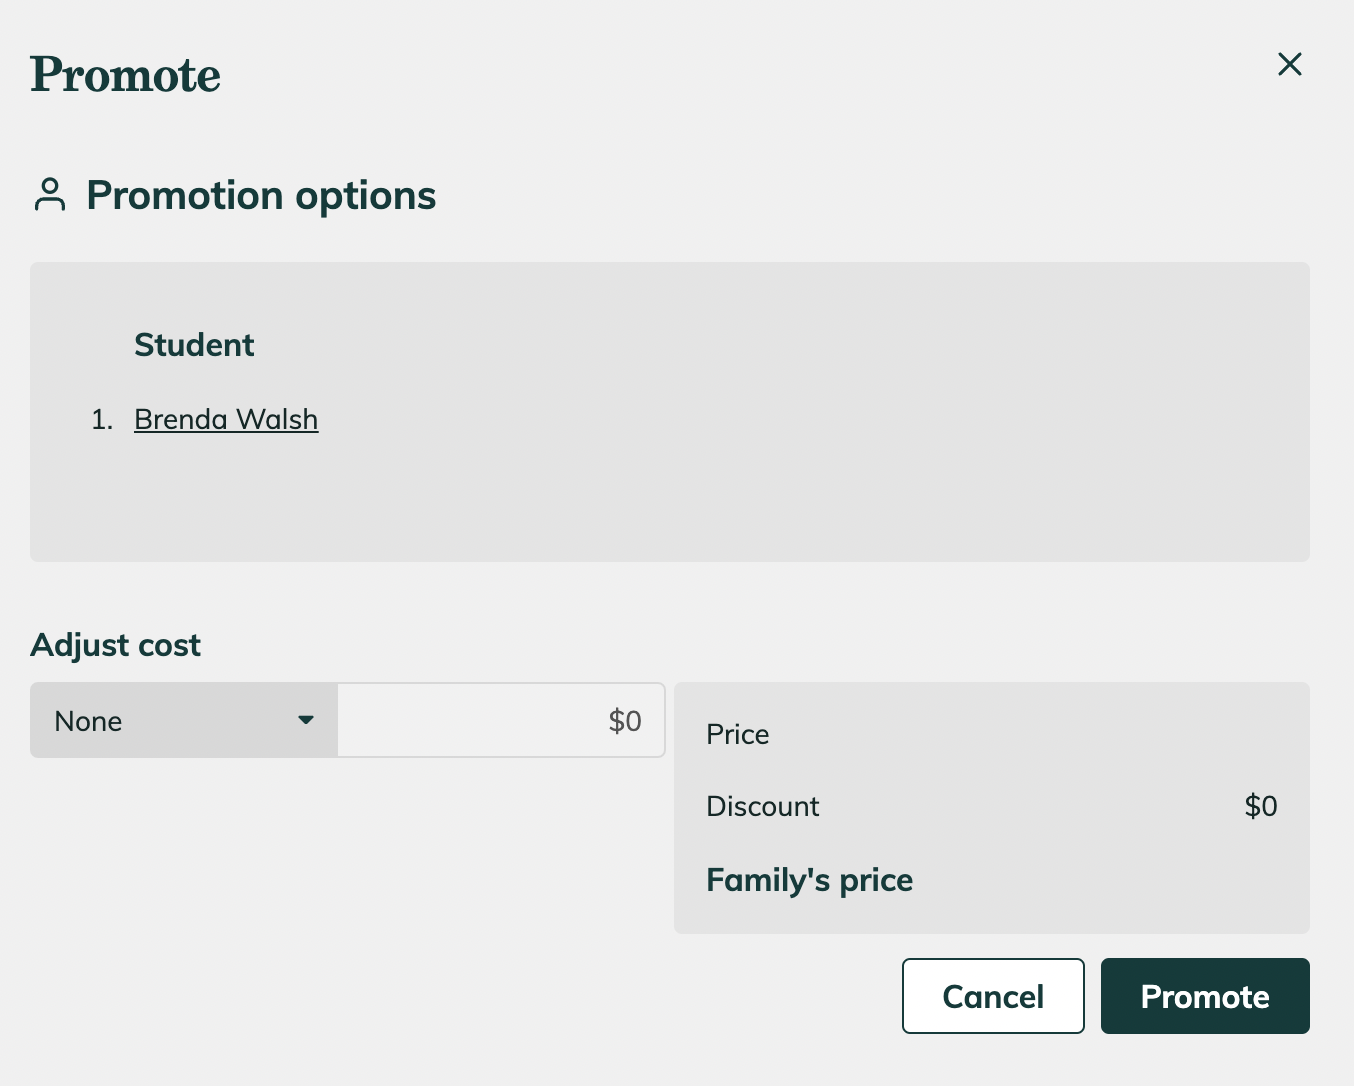
- Click the Promote button.
- Optionally, adjust the enrollment cost for that specific student.
- Click Promote again to send the invitation.
Once promoted, the student's parent will receive an email notifying them of the invitation. They will have 24 hours to confirm the enrollment.
Tracking and Resending Invitations
You can track which families have been invited and whether their invitations are still active or have expired. If an invitation expires (after 24 hours), the student will move to the bottom of the waitlist with an "Expired" label. Expired invitations can be re-sent if needed.
Important Notes
- If your class is full (e.g., 20 out of 20), you can promote a student from the waitlist and exceed the max capacity (e.g., 21/20), without editing the class limit.
- If your class is full and you remove and refund a student, students from the waitlist will not be automatically promoted. You’ll need to manually promote another student.
- Increasing the maximum number of students does not automatically promote waitlisted students. You must still promote them manually. Once promoted, a spot is temporarily held for the student until the 24-hour invitation window expires.